With the release of the @minecraft/debug-utilities API in Minecraft Bedrock 1.21.70, new ways of visualizing informatics became available. Obviously, this is something I jumped on for Canopy, since one of its major goals is to display useful information that is usually invisible to the end user.
After playing around with the new API and creating a couple features with it, I felt comfortable using it to tackle displaying the edges of biomes. The plan was as following:
- The player uses a command to select a region of the world.
- Canopy scans the region, collecting biome data, then displays the biome border as a visual boundary.
- Bonus points if the debug lines are colored by the biome they represent.
- The player uses a permutation of the command to select new regions or remove old ones.
/biomeedges Command
The first part to tackle was the command. Because biome edges are invisible, the player would often scan an area just to find out that it is not what they were looking for. A design where they could add a new region and then quickly remove the last added region would benefit them the most in this circumstance. Because of this, I decided to use a stack for the list of regions in which biome edges would be displayed. I eventually narrowed the commands down to these:
- /biomeedges add <x, y, z> <x, y, z> - Creates a new region with the specified corners.
- /biomeedges removelast - Removes the last region.
- /biomeedges clear - Removes all regions.
Originally I wanted to go with “push” and “pop” to highlight the stack data structure, but it seemed clearer to use “add” and “removelast” for those not as familiar with computer science. Nonetheless, now that the commands were defined it was time to begin implementing the biome scan. This is actually quite a convoluded process given the current state of the Minecraft Script API, but since this post is about greedy meshing I am going to move past that.
The Path to Greedy Meshing
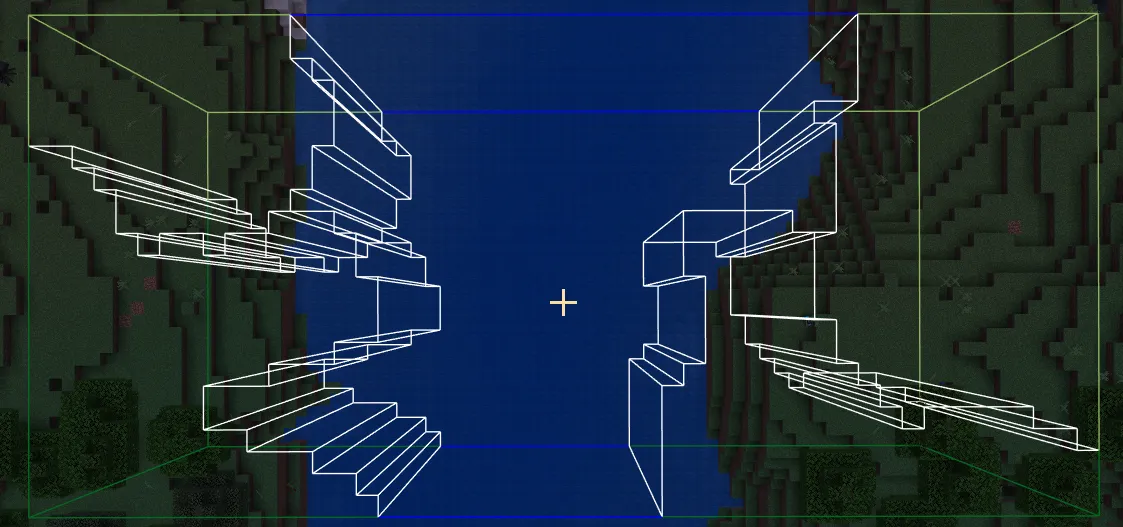
After I had collect the biome at every location in the selected region, it was time to visualize the biome edges. My first implementation of this was the stupid approach. This meant checking every neighbor of every location and creating a debug box if a neighbor’s biome did not match the current location’s biome. This approach had the benefit that I could easily color each debug box with the biome it is within, quickly creating a very clear visualzation.
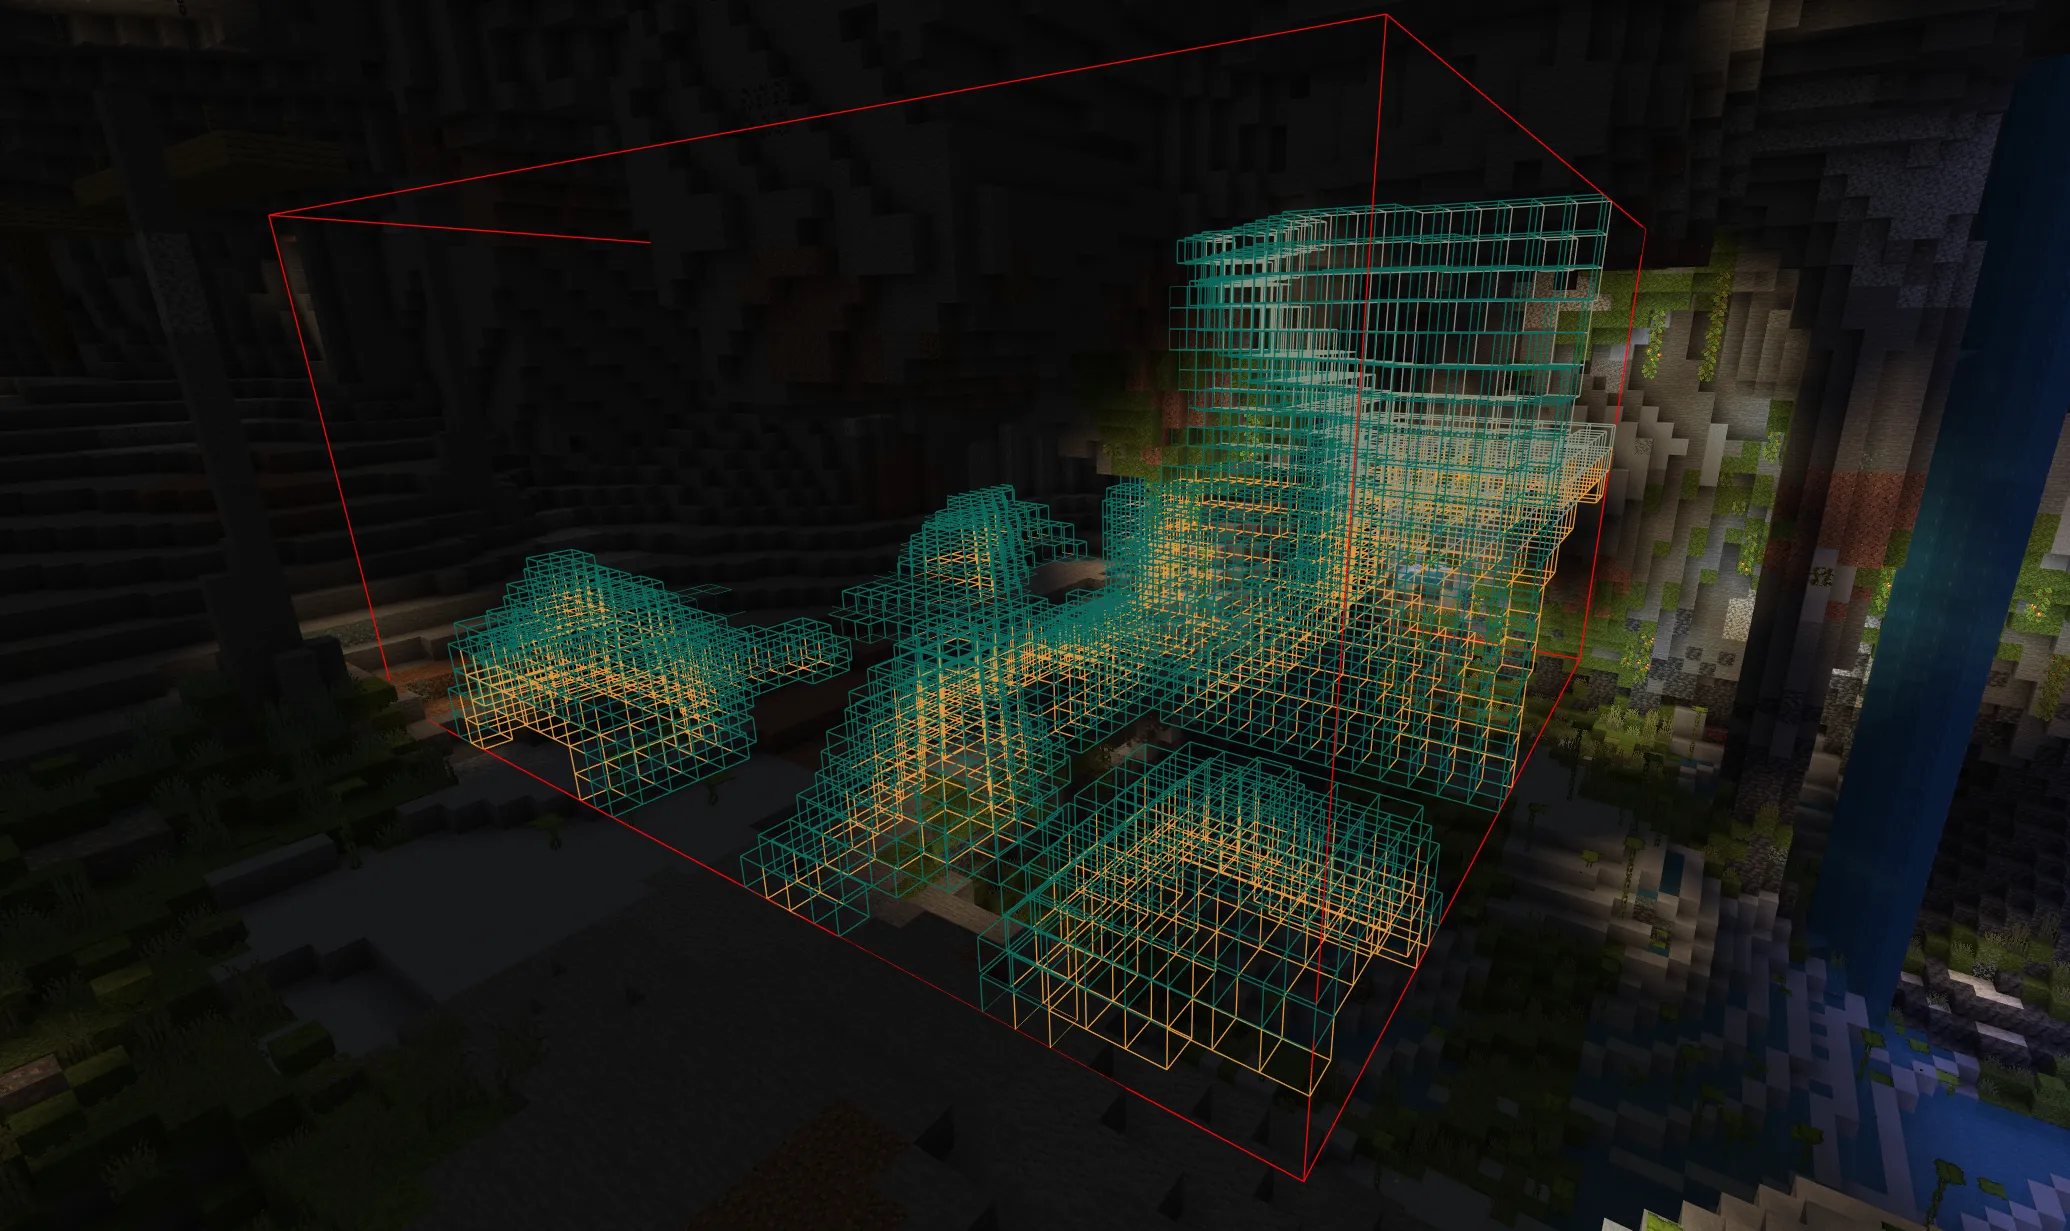
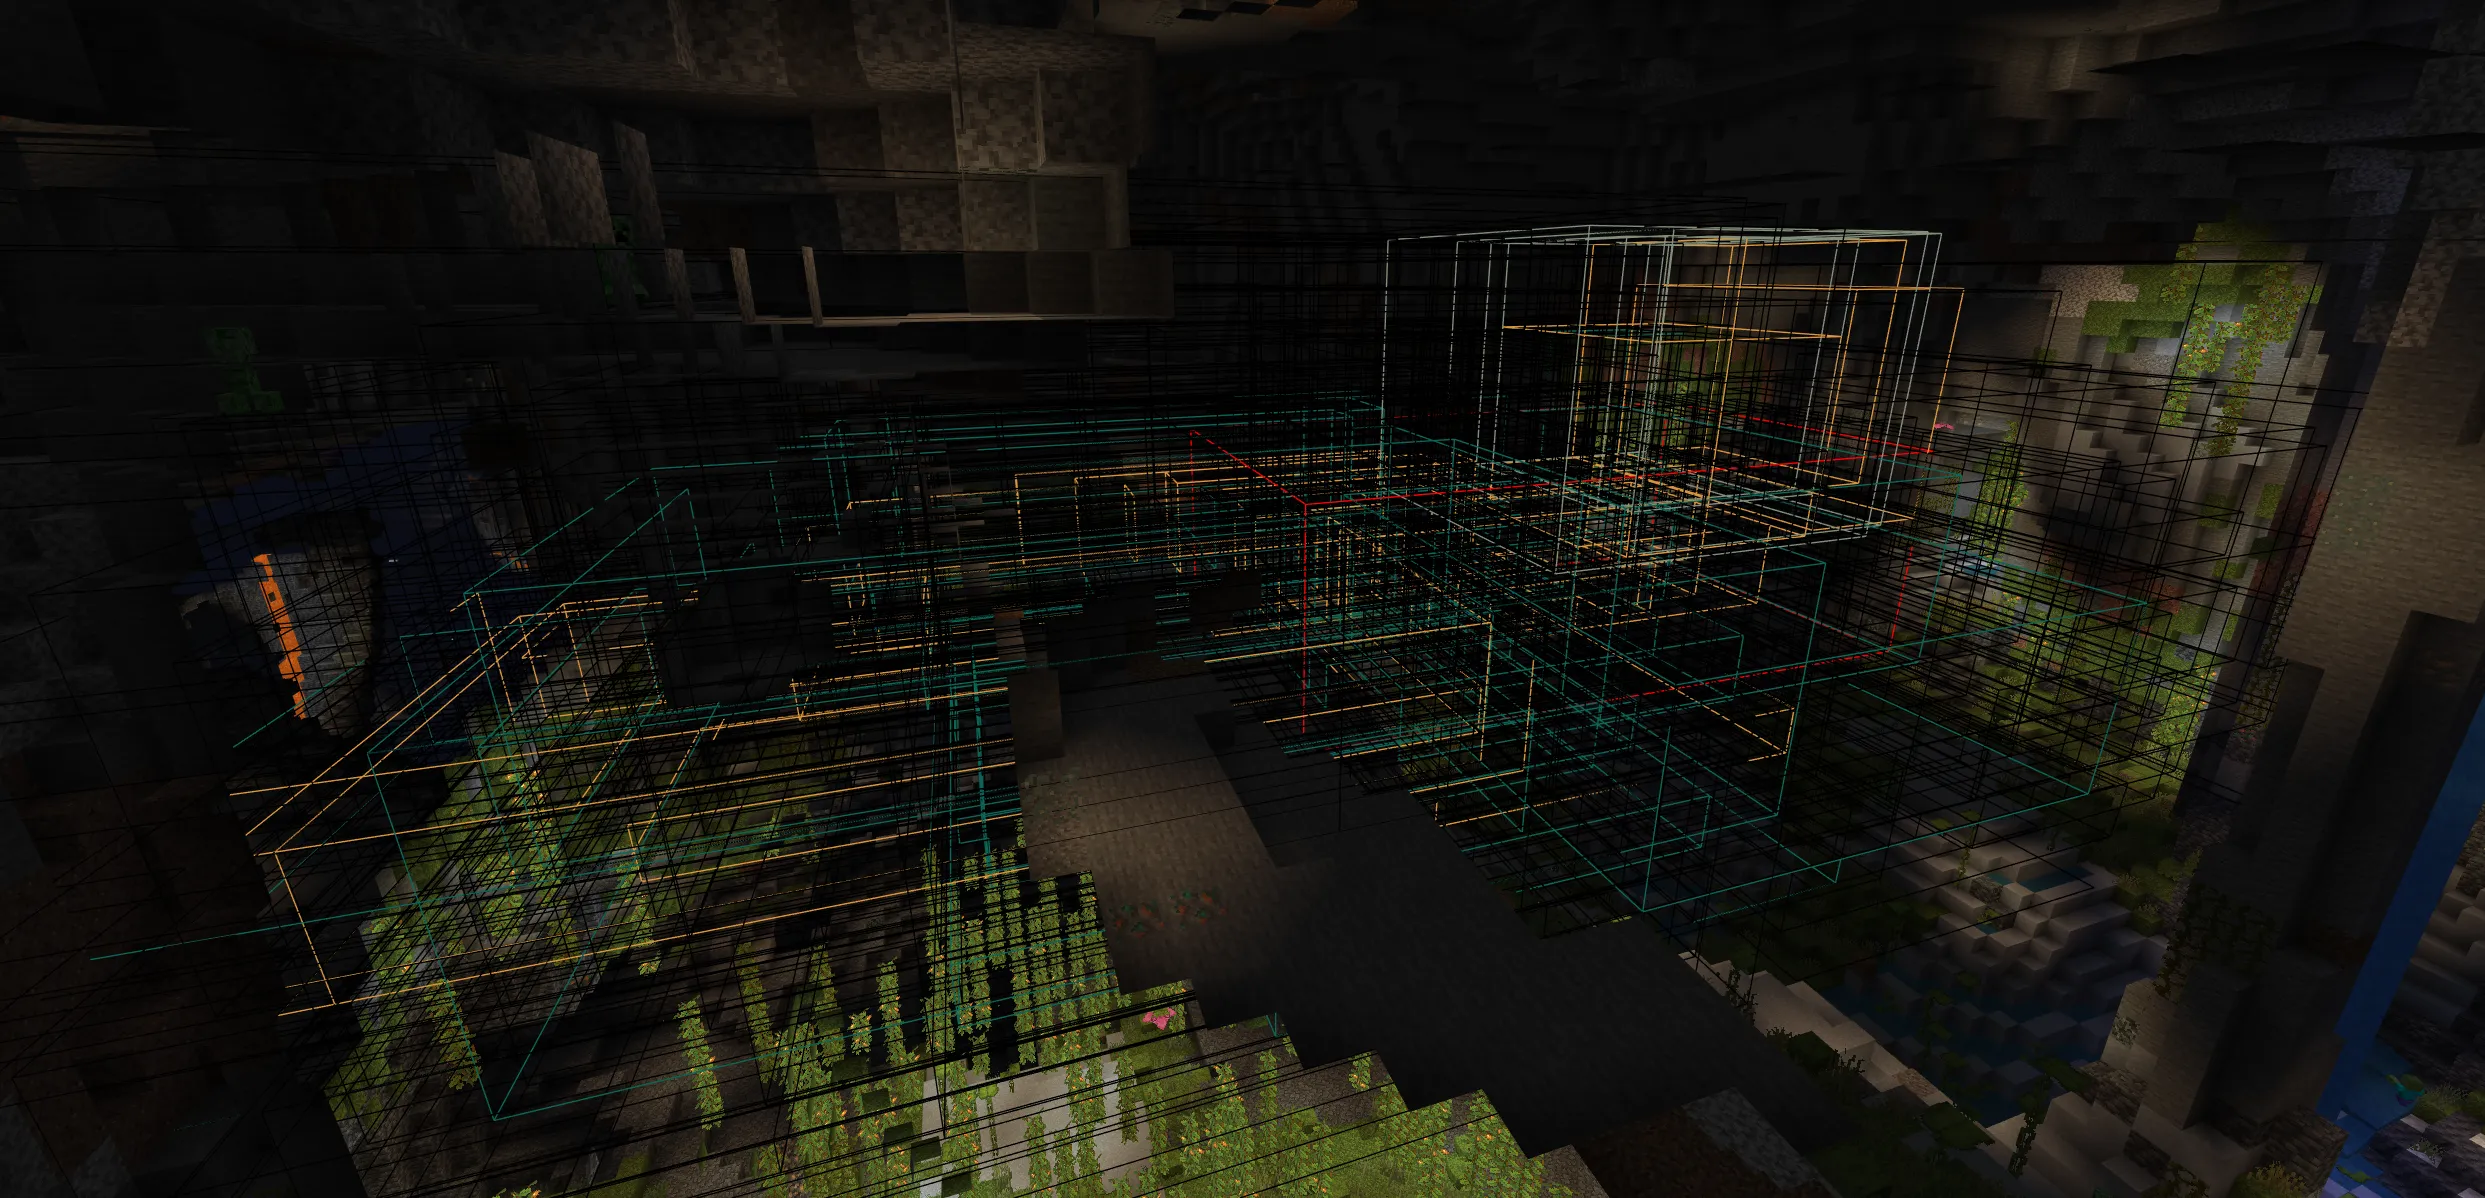
Success! This is the first time I have ever seen anyone visualize biomes in Minecraft Bedrock! I quickly shared my creation with the members of the Amelix Foundation, a Technical Minecraft Bedrock SMP that I administrate and develop for. Aside from their excitement their responses quickly expressed that “clear” did not mean, “uncluttered” in this case. The large number of debug boxes created too many lines and resulted in an extremely busy visual experience.
After one member recommended greedy meshing to me, I took the opportunity to learn something new about rendering.
Greedy Meshing Biome Edges
Greedy meshing is an algorithm used to reduce the number of polygons it takes to create a mesh. It is designed to merge several small faces into one larger face if they are aligned and contiguous.
After some reading up on greedy meshing, I came across a solution that was presented in the context of a Minecraft-type (voxel-based) game. The solution was presented for rendering the actual world geometry, but it was the algorithm that was most important. The algorithm does three passes through the region, each creating a “mask” where there should be a mesh face. Then, a semi-optimal quad is defined to cover multiple contiguous flat faces.
As first attempts go, this one was not very successful. However, after 4 hours of debugging and learning to understand the algorithm, I finally got a functional version of the improved meshing.
Using greedy meshing in this implementation had a lot of positive effects. First, it improved client lag and visual clutter by reducing the number of lines drawn. Second, it improved runtime over the stupid approach. Last, I got to get out of my comfort zone and explore an algorithm I was unfamiliar with. This process furthered my interest in digital rendering and motivated me to explore more rendering strategies in the future.
Bonus Points: Displaying the Biome Color
Despite the biggest hurdle overcome, my quest to display biome edges was not yet complete. A keen viewer will notice that the biome colors were stripped away once the greedy meshing was complete. This is because attempting to use the biome color to color the greedy mesh created a confusing visual where the biome edge was two different colors at once.
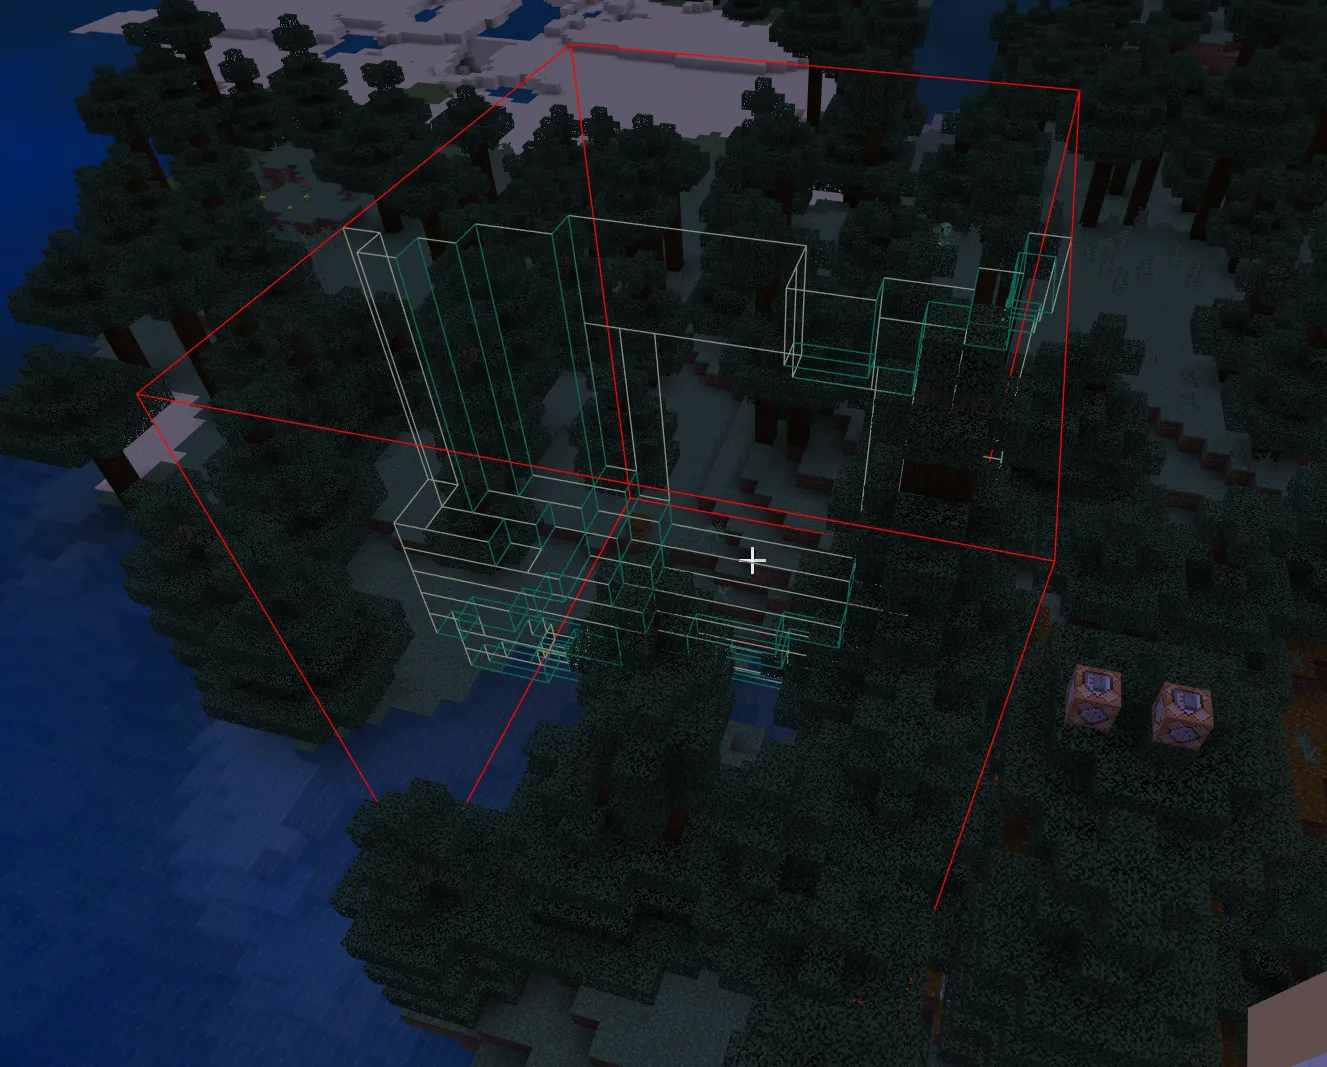
How could you tell which biome was on which side of the border? After considering and implementing several approaches to changing the color of the mesh, I landed on changing the color of the region’s bounding box edges. This required some simple logic using the collected biome locations to choose the color of each block-long segment of the region’s bounding box. Below is the final implementation of the /biomeedges command in Canopy.